If you’re looking to add extra storage and protection to your truck bed, installing the EXP Truck Cap is a great solution. In this guide, we’ll walk you through the entire installation process. With the help of the installation video, you’ll have your truck cap set up in no time!
Step-By-Step Installation Of The EXP Truck Cap
Tools You’ll Need:
- Socket wrench set
- Drill (optional for pre-drilling holes)
- Measuring tape
- Clamps
- Sealing tape (optional for added weatherproofing)
Installation Steps:
1. Prepare Your Truck Bed
Start by cleaning out your truck bed. Make sure the bed rail surface is clear of debris and dust. You’ll want a smooth, clean surface for mounting the cap to ensure a secure fit.
2. Position The EXP Truck Cap

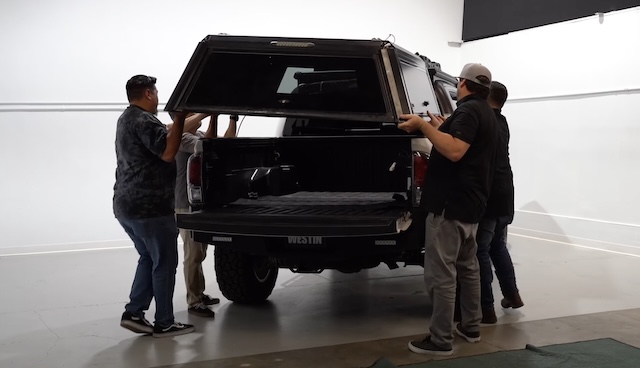
With assistance, carefully lift the EXP Truck Cap onto your truck bed. Line it up so it sits squarely on the rails. This may require some minor adjustments to get the alignment perfect. Make sure the back door of the topper aligns with your tailgate for easy access.
3. Secure The Cap with Clamps

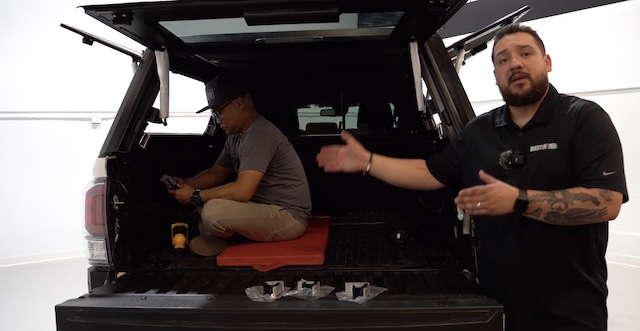
Using the clamps that come with your EXP Truck Cap kit, attach the topper to the bed rails. You’ll typically place these clamps near the front, middle, and back of each side of the truck. Tighten the clamps evenly on both sides to ensure a snug fit. Double-check alignment as you go.
4. Drill Mounting Holes (Optional)
For added security, some prefer to drill and bolt the topper directly to the truck bed. If you choose this route, mark the positions where the bolts will go. Pre-drill small holes and then secure the topper with bolts. Make sure to use washers to prevent damage to the topper.
5. Seal the Edges (Optional)
For added weatherproofing, you may want to apply sealing tape or silicone to the edges of the cap where it meets the truck bed. This will help keep water, dust, and debris out of the bed.
6. Test Fit And Function

Before calling it a day, check the fit of the topper. Open and close the topper’s rear door to ensure it aligns properly with the tailgate. If you installed a window or lighting, test those features as well.
How Much Does An EXP Truck Cap Cost?
The EXP Truck Cap comes in a variety of options based on your truck’s make and model. Prices range between $1,200 and $2,000, depending on custom features like additional windows or interior lighting. You can view all the available options and their pricing here.
Can I Install The EXP Truck Cap Myself?
Yes! Installing the EXP Truck Cap is a straightforward process and can typically be done with basic hand tools. With the installation video provided above, you’ll be able to install it without professional help. Any minor adjustments, such as resetting the clamps or resealing edges, can be easily handled yourself. If you prefer professional installation, check with your local Westin dealer for assistance.
Where Should I Buy An EXP Truck Cap?
We recommend purchasing the EXP Truck Cap directly from the Westin Automotive website. Buying from Westin ensures you’re getting an authentic product with the full manufacturer’s warranty. Plus, Westin is known for providing top-notch customer service and fast shipping. Whether you’re looking for accessories or replacement parts, Westin has you covered.
More On The EXP Truck Cap From Westin

Installing the EXP Truck Cap is a great way to add function and style to your truck. With the right tools and a bit of time, you can easily install it yourself by following the steps outlined above and watching the installation video.
For over 40 years, Westin has been the leading manufacturer of rugged aftermarket products for off-road, automotive, and utility applications, all of which are developed and tested in the USA. We offer a wide selection of truck, SUV, and Jeep accessories, all designed to look good and perform well, especially in rugged environments. Contact our expert team today if you have questions!

